Exercise 2: Creating a form on the Portal
Duration: 30 minutes
For this exercise, we will focus on exposing your newly created table on one of the employee portals so that your employees can easily access and create a travel request for themselves.
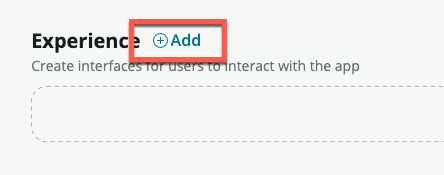
Click the App Home tab to return to the main view
Click Add under Experience
On the following screen, click Record Producer
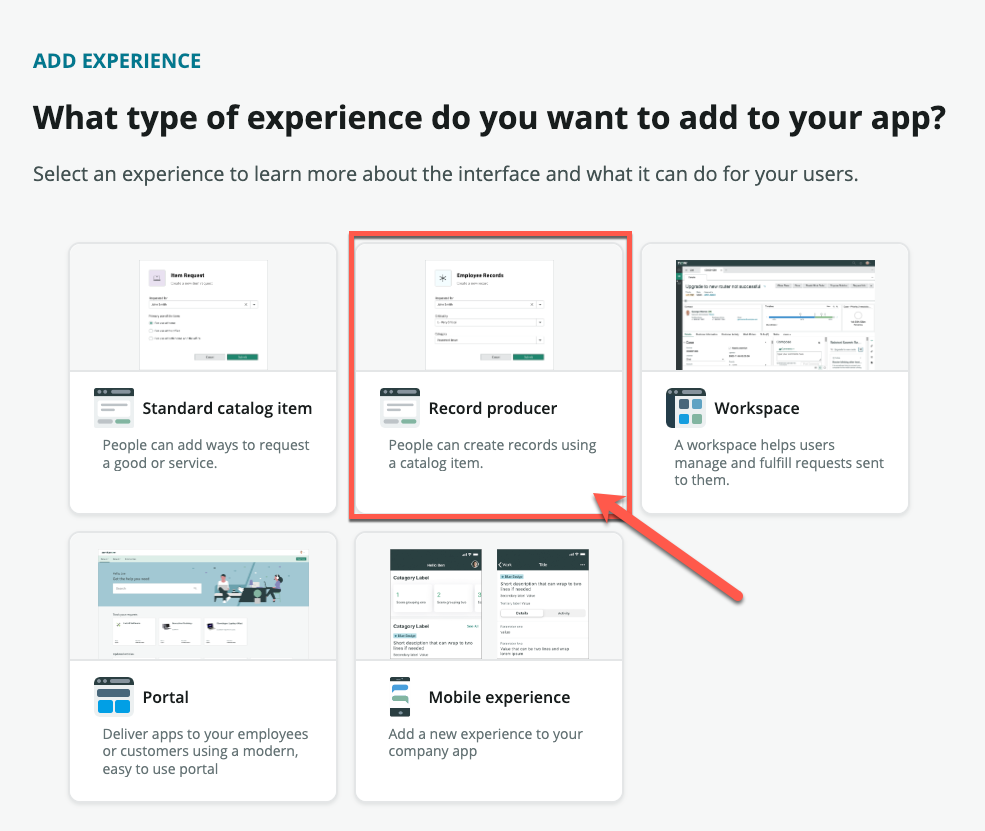
Click Get started
On the ADD EXPERIENCE screen, enter Raise a travel request under Name, and Capture employee travel requests for description
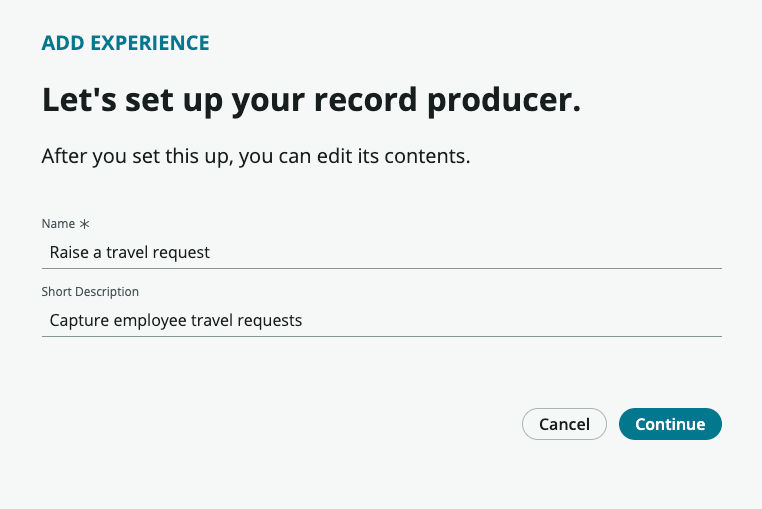
Click Continue
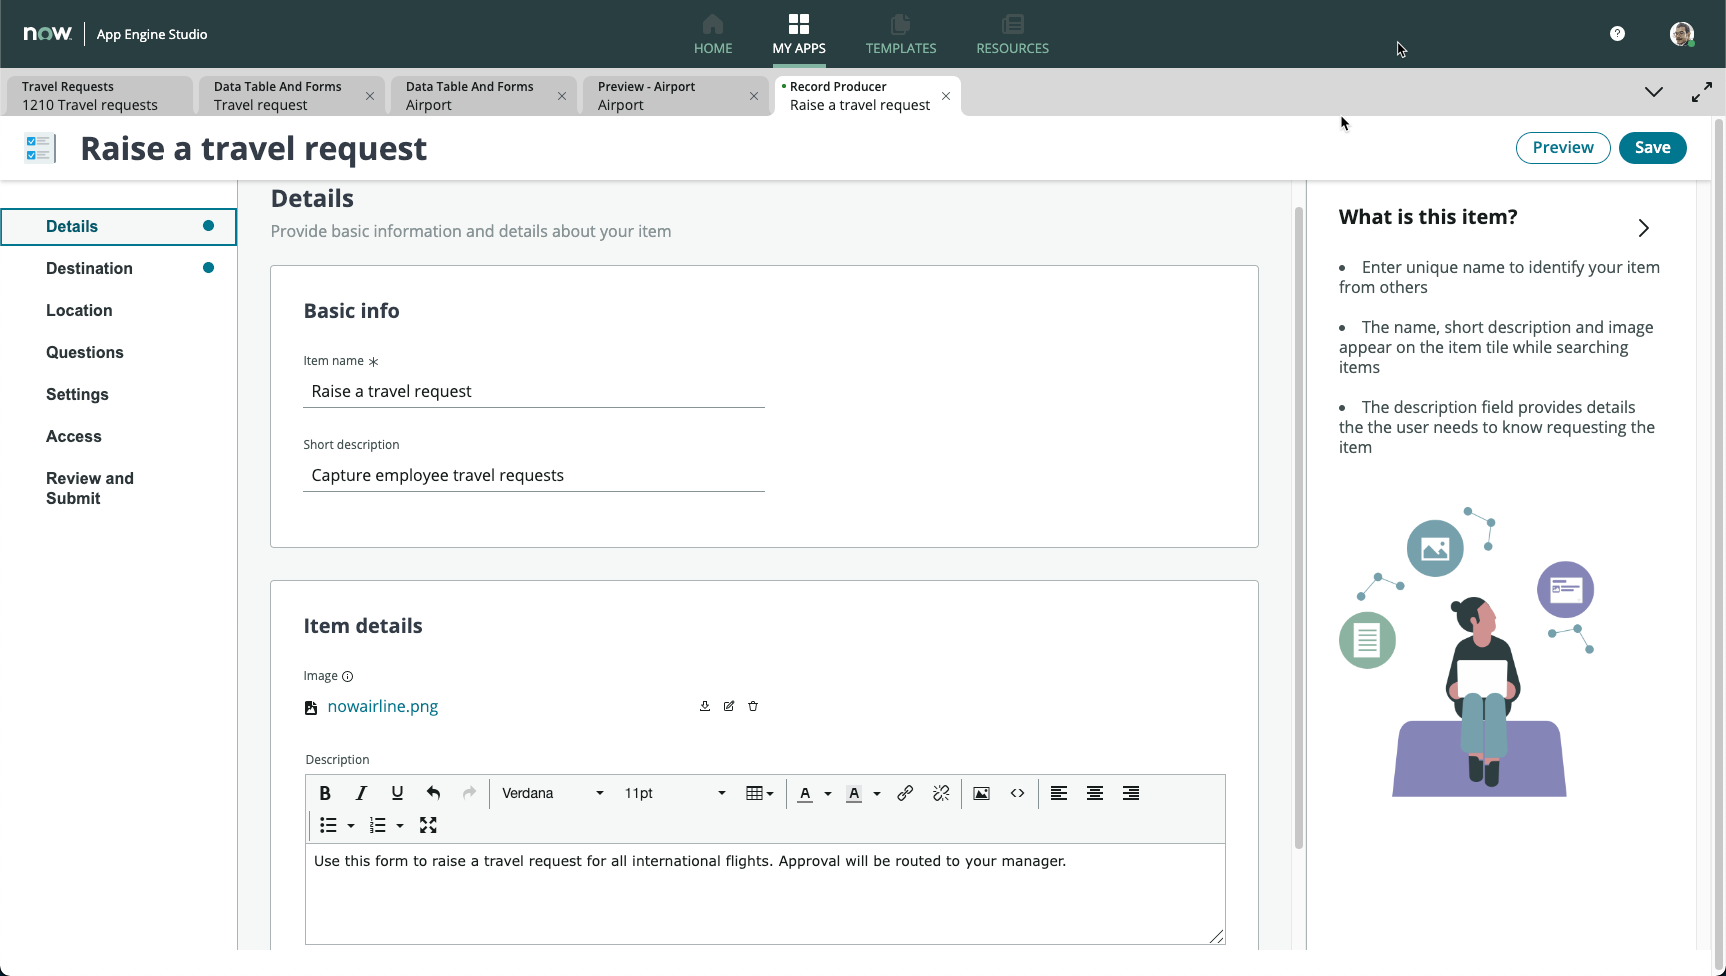
Click Edit record producer
Under Description, enter the following text: “Use this form to raise a travel request for all international flights. Approval will be routed to your manager.”
(Optional) Add an image if you wish (You can use anything you find online)
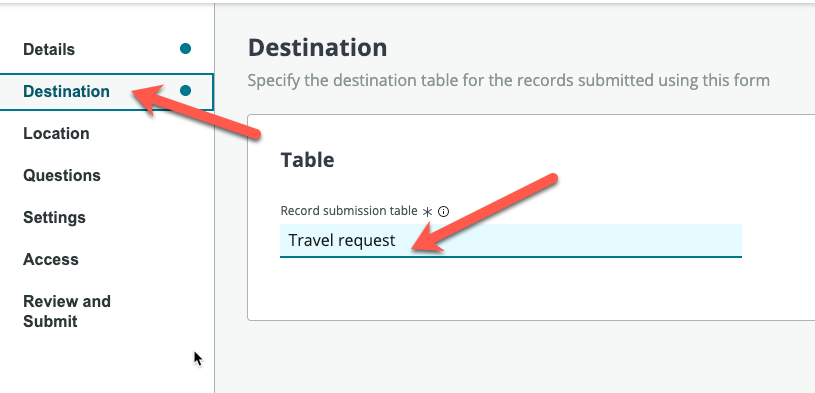
On the left sidebar, click Destination
We will define where this form will route requests to. Search and select Travel request. This is the table we first created.
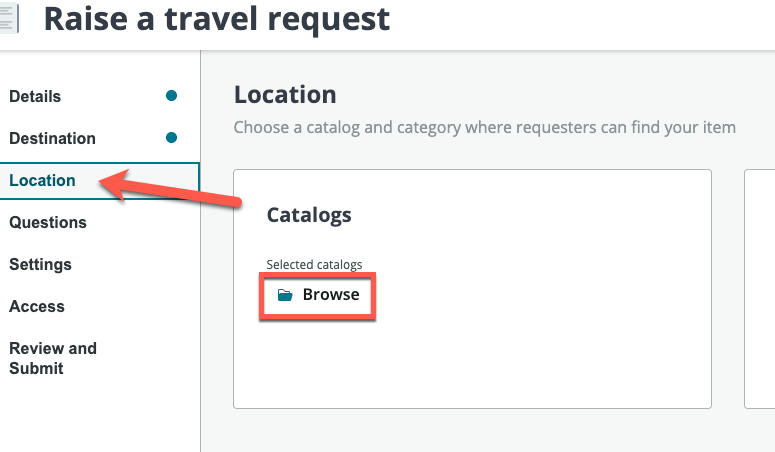
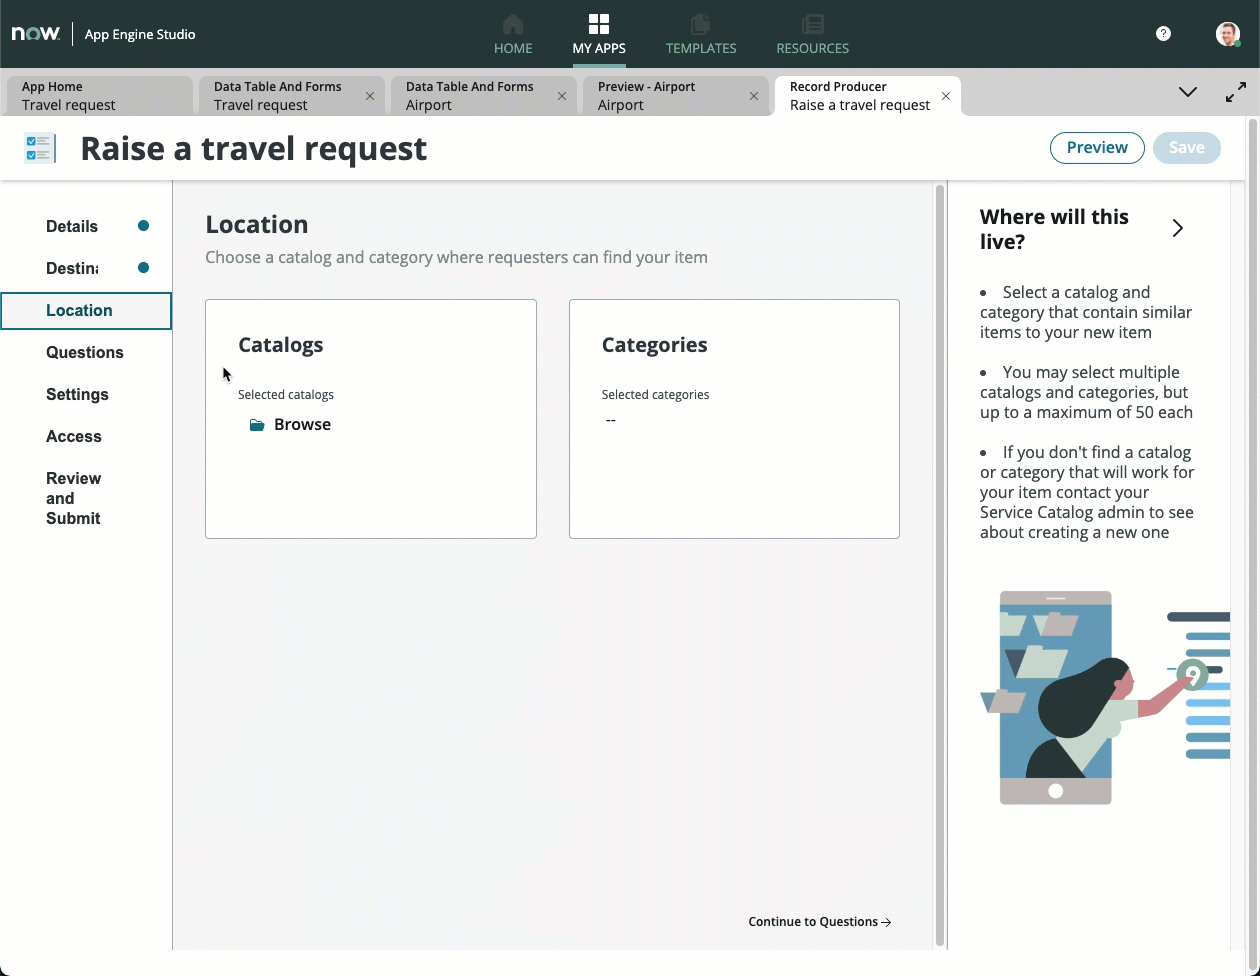
On the left sidebar, click Location. We will define which portal this form will be located in. A form can belong to multiple portals on ServiceNow
On the main area, click Browse
On the next screen, look for Service Catalog under the Available section and move it to the right (Your list might appear different from the screenshot below)
Ensure that Service Catalog now appears in the Selected section
On the bottom right, click Save selections
Click Browse under Categories
This time, do the same as before, and select Can We Help You? from the Available list
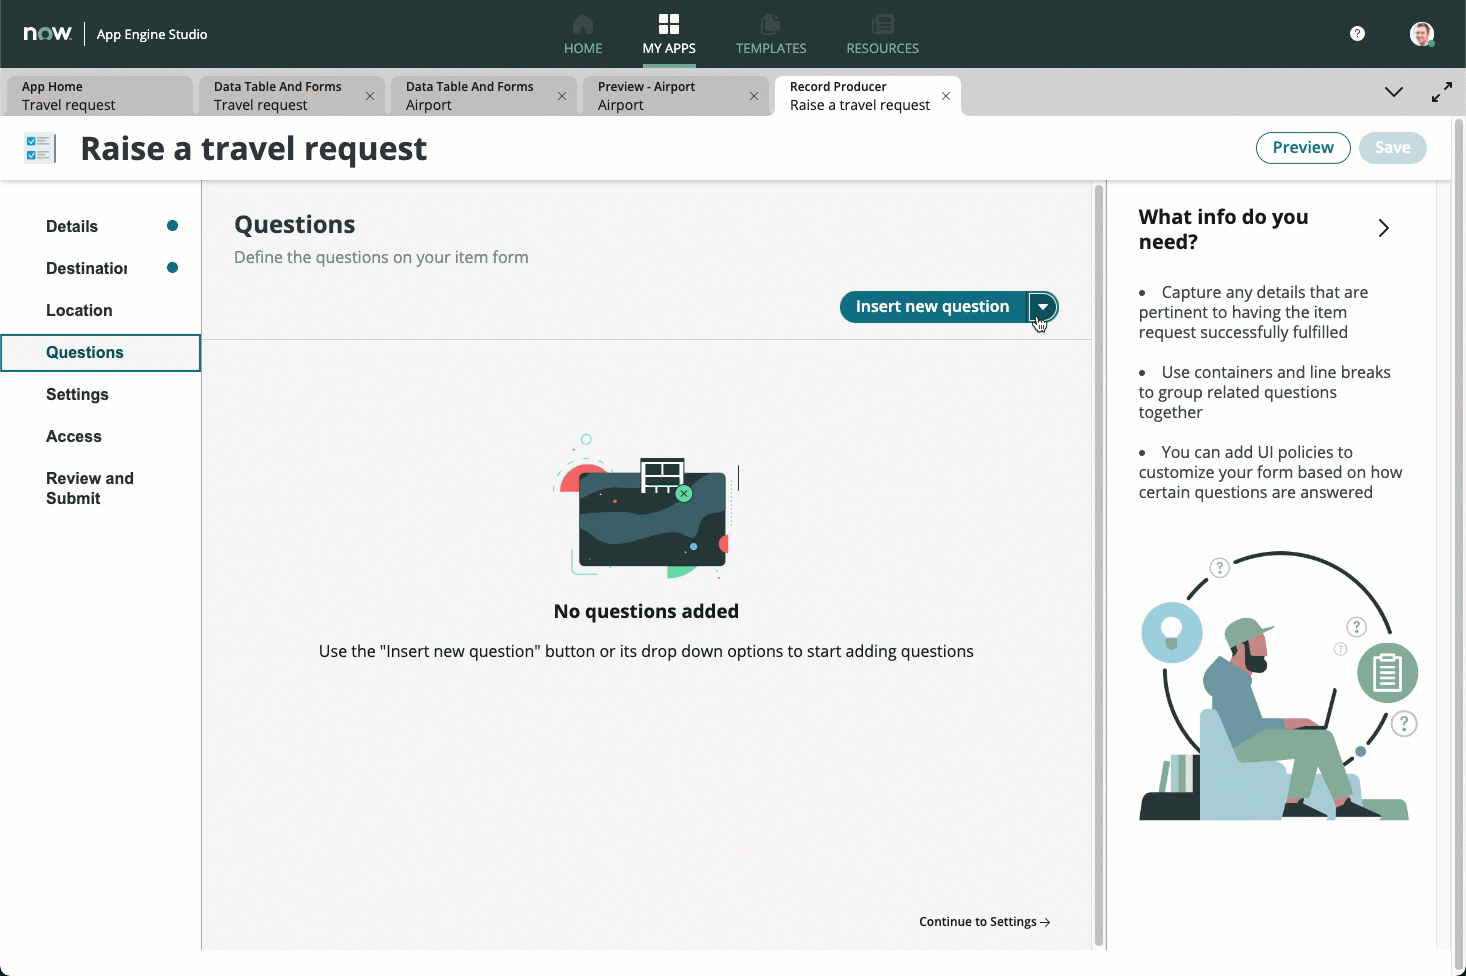
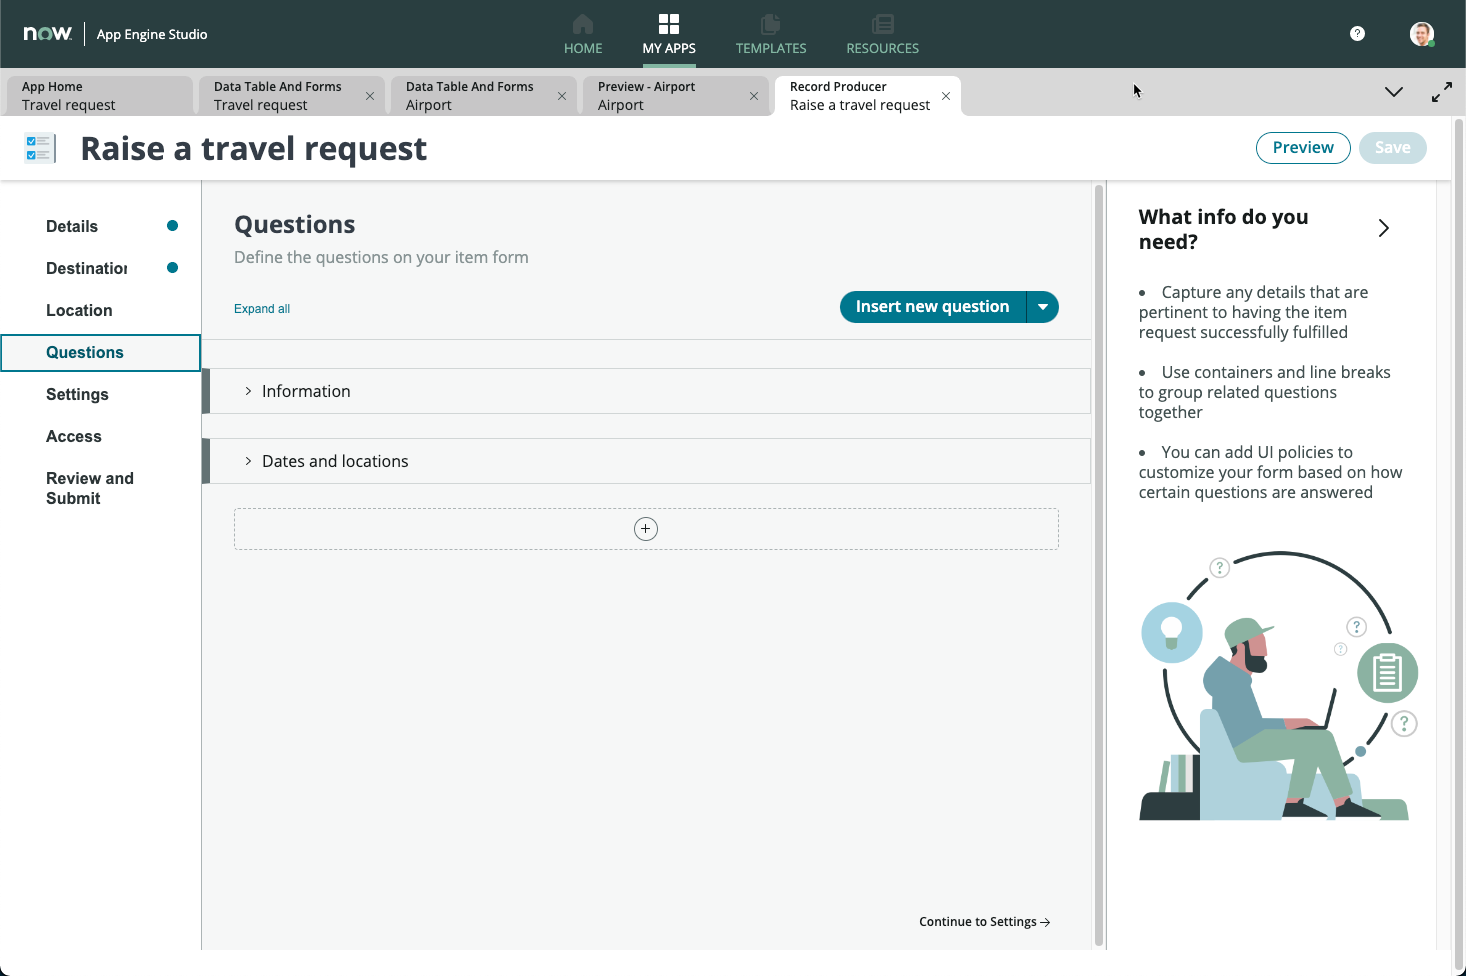
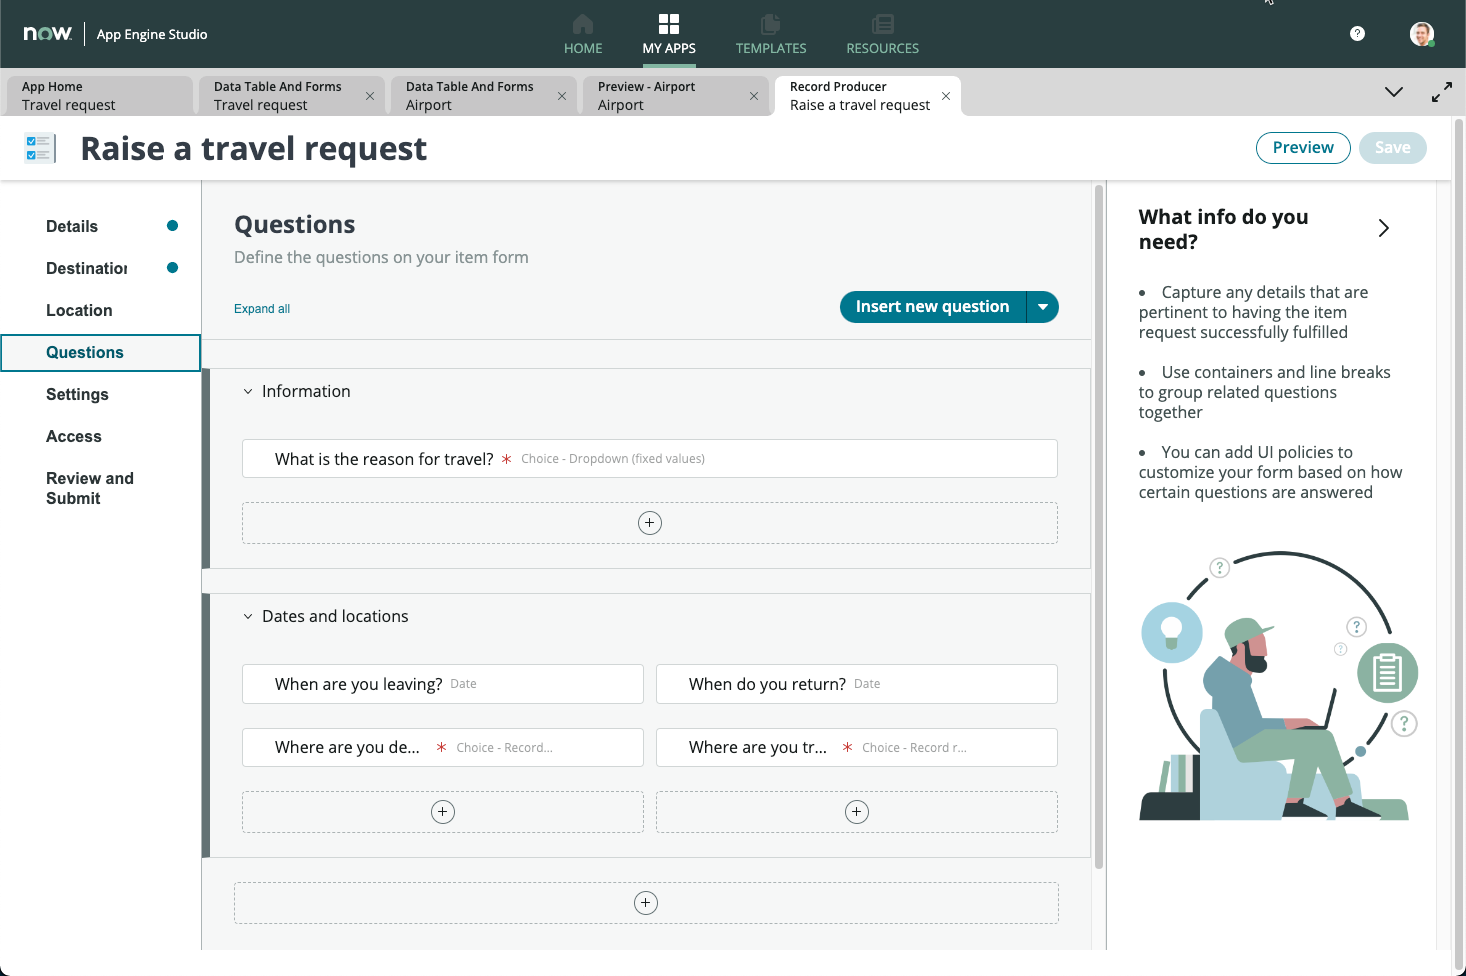
On the left sidebar, select Questions
Click on the dropdown arrow next to Insert new question, and click Single column container
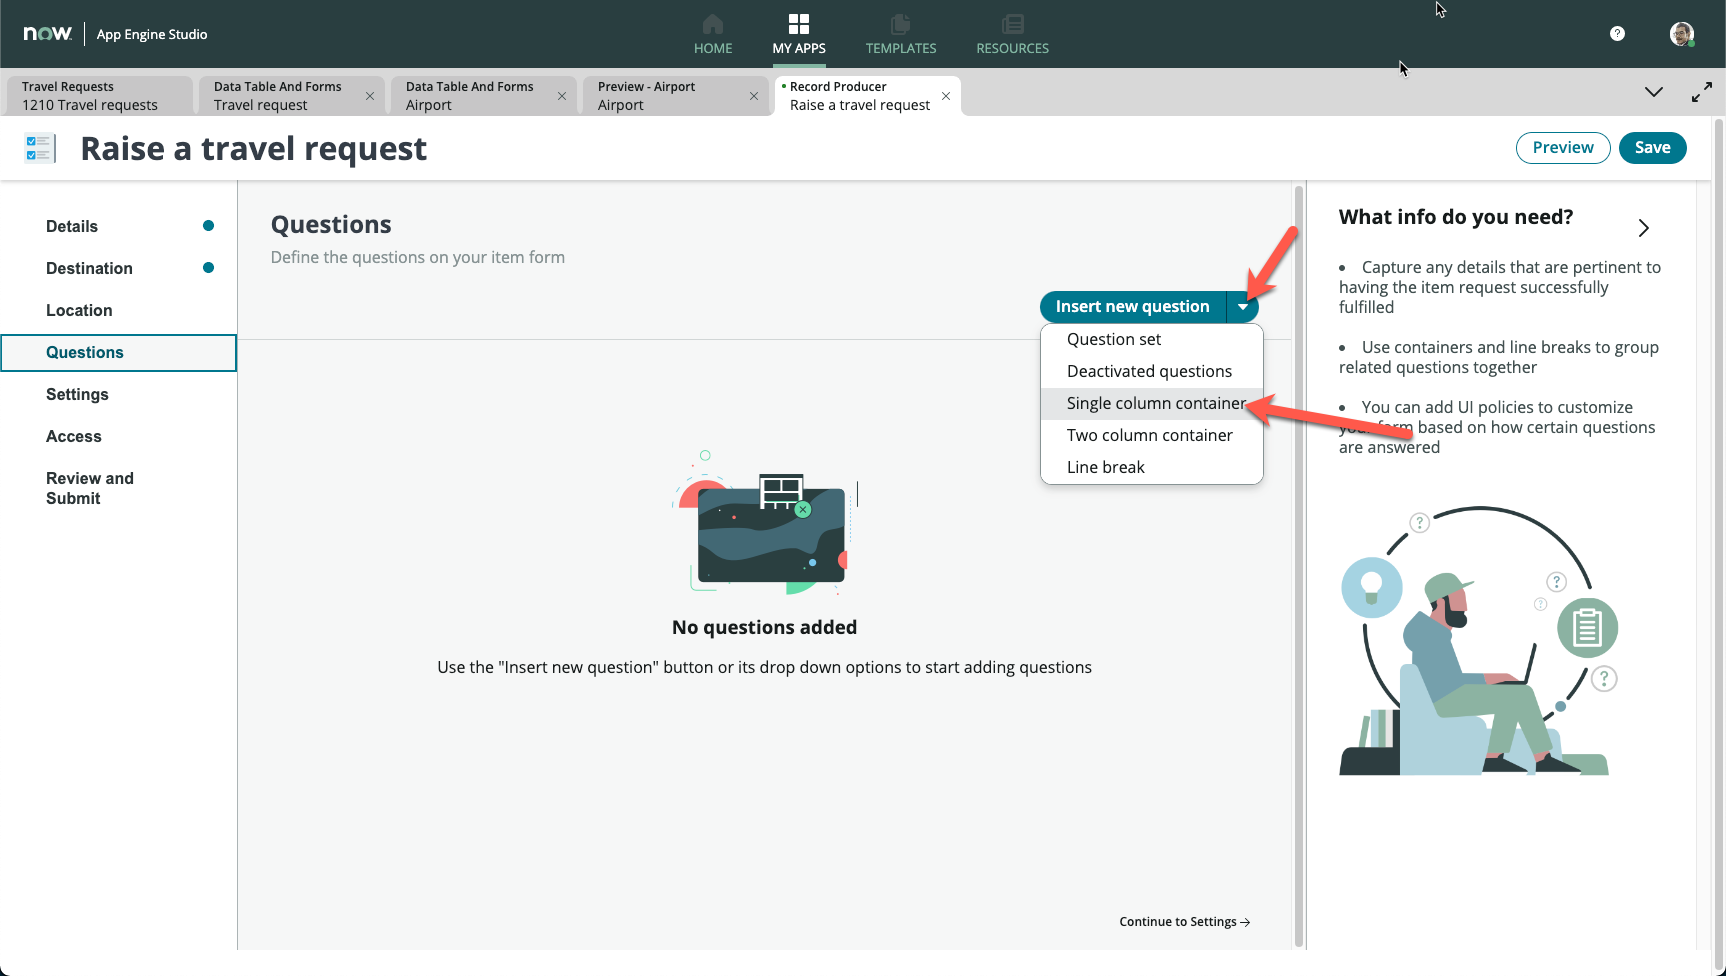
In the pop-up box, enter Information under Title
Click Submit
Repeat the top 3 steps again, but this time select Two column container and enter Dates and locations
Your screen should look like this
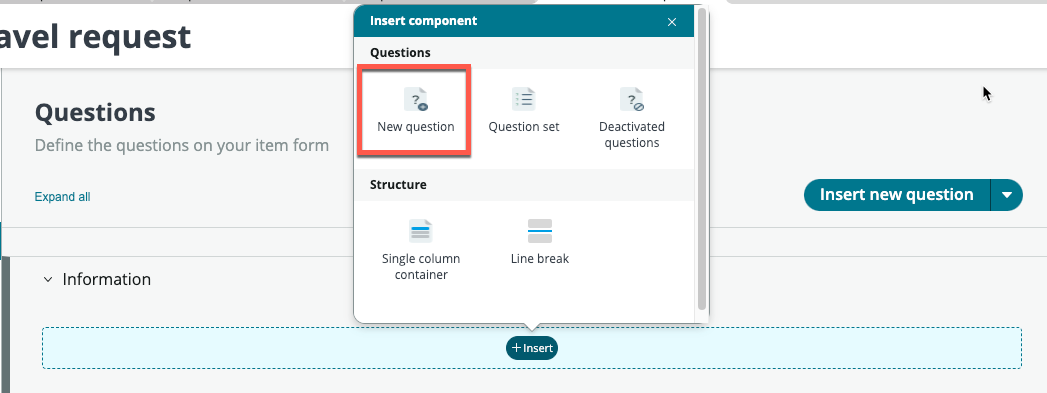
Expand the Information section, click the Insert icon, and select New question
In the next form, fill it out as below
Name Selection Question type Choice Question subtype Dropdown (fixed values) Map to a specific field on the table Checked Tabel field Reason for travel Question label What is the reason for travel? Mandatory Checked 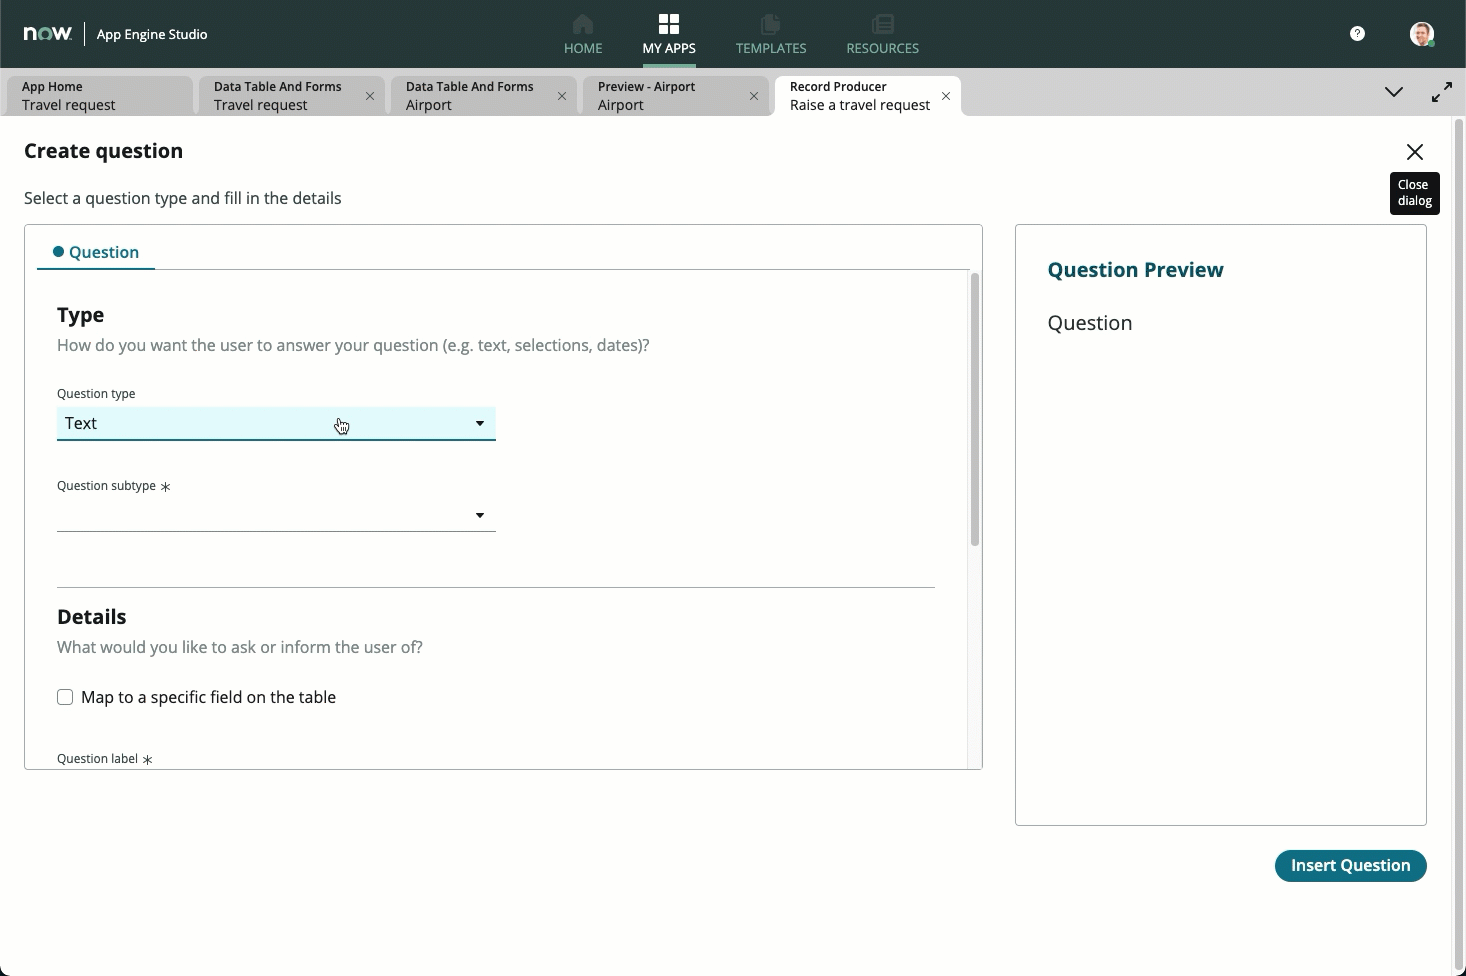
Click Choices
Check Include none choice
Under Available Choices, add the 3 reasons you added during table creation: Internal meeting, Customer meeting, Training
The Value column is automatically populated, leave it as it is.
On the bottom right, click Insert Question

Expand the Dates and locations section
On the left column, add a New question

Fill out the form as follows
Name Selection Question type Date / Time Question subtype Date Map to a specific field on the table Checked Tabel field Departure date Question label When are you leaving? Click Insert Question at the bottom right
Repeat the steps above again for Return date
Name Selection Question type Date / Time Question subtype Date Map to a specific field on the table Checked Tabel field Return date Question label When do you return? Now we will capture the locations by looking at the Airport table we created
Under the same Dates and locations section, add a new question
Name Selection Question type Choice Question subtype Record reference Map to a specific field on the table Checked Tabel field Travel from Question label Where are you departing from? Mandatory Checked Click the Additional details tab
Under Source table, search and select Airport (This is the table you imported from the spreadsheet)
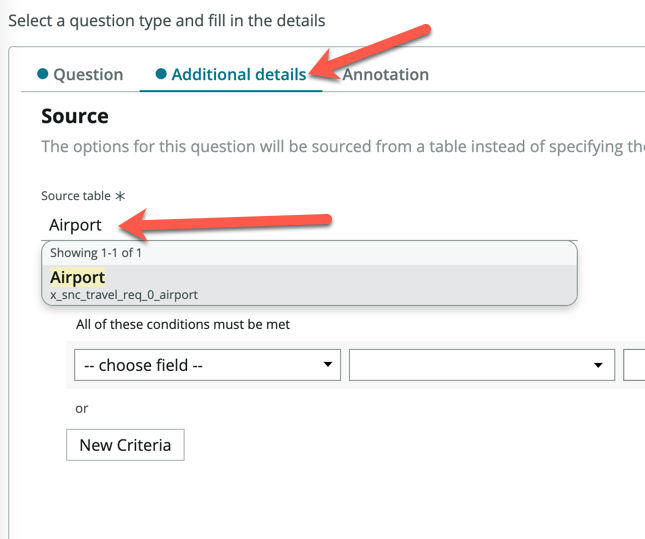
On the bottom right, click Insert Question
In the main screen, follow the steps above once more for Travel to
Name Selection Question type Choice Question subtype Record reference Map to a specific field on the table Checked Tabel field Travel to Question label Where are you traveling to? Mandatory Checked Remember to choose Airport for the Source table under the Additional details tab
Your form should now look like this
Preview how your form will look like by clicking on the Preview button on the top right
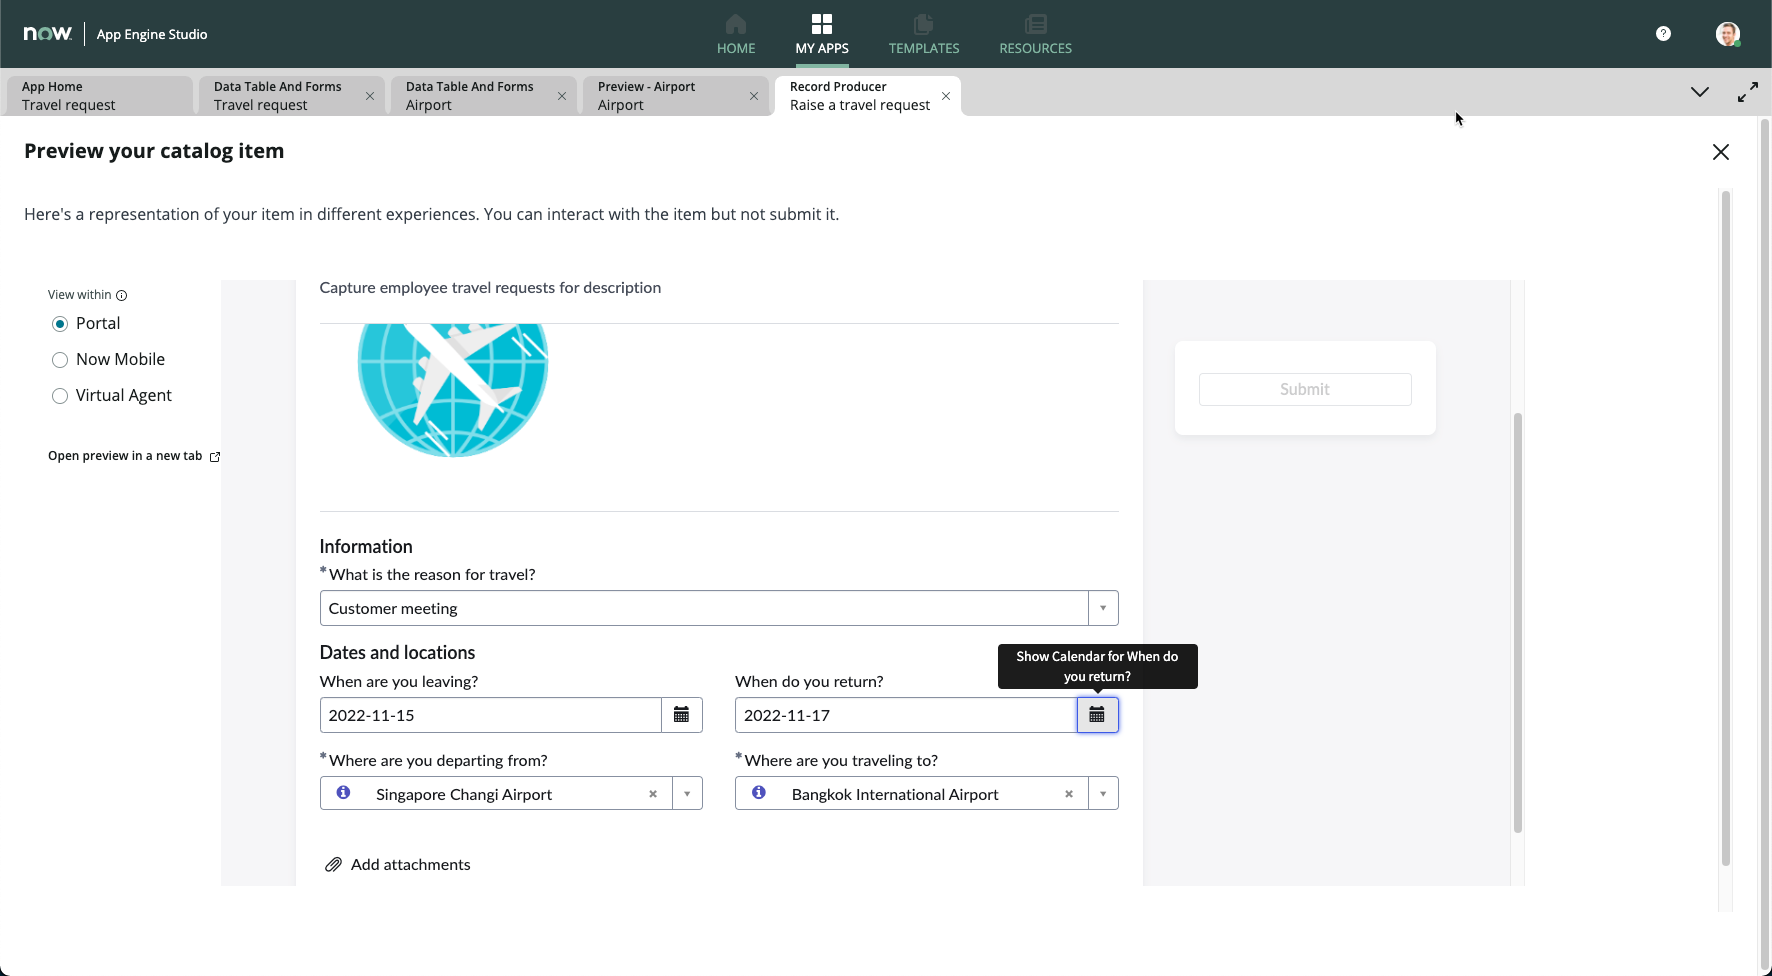
Try filling in the form with any details, but you won’t be able to submit the form as it is in preview mode only
Click Now Mobile on the left sidebar
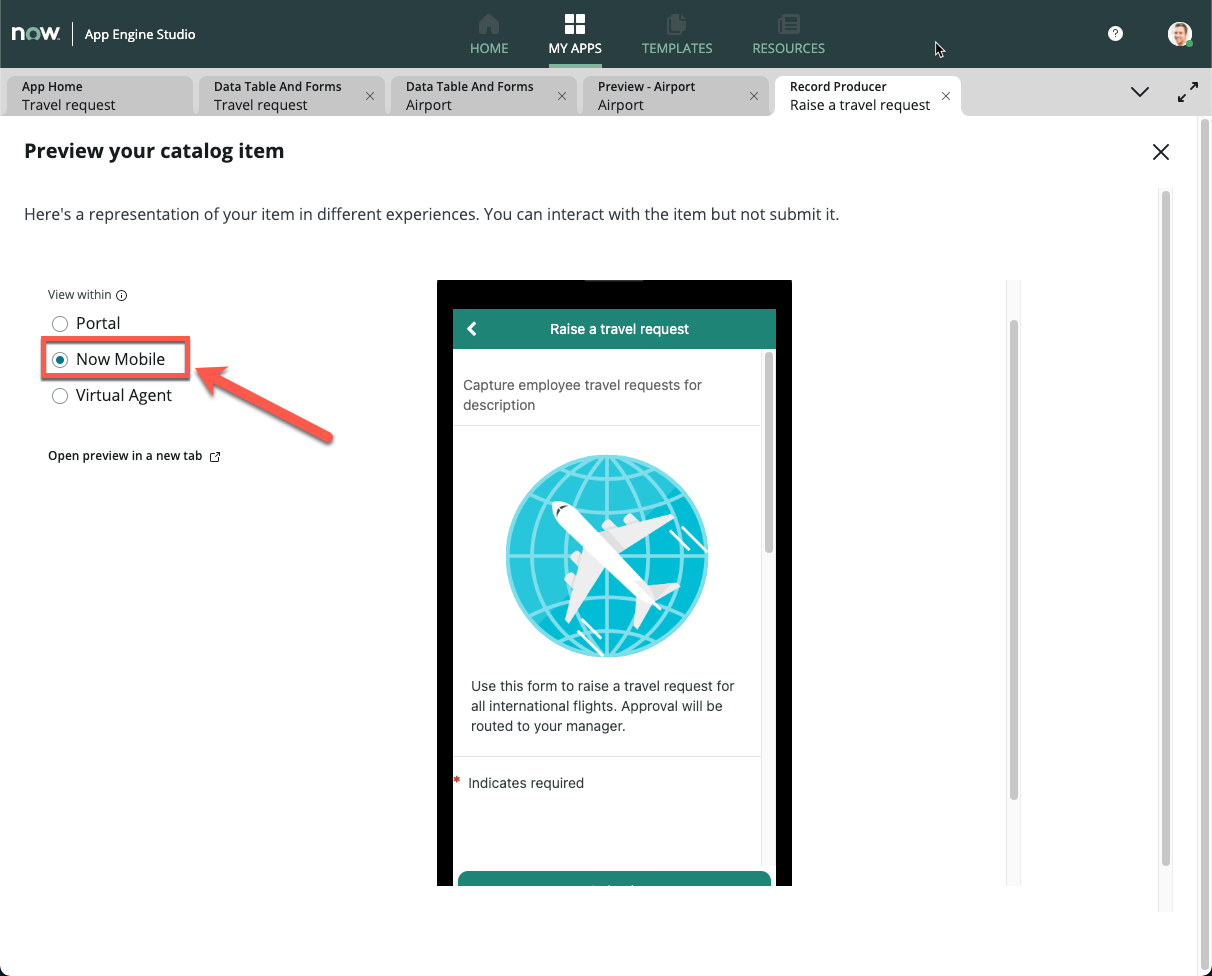
The experience also automatically gets added to the mobile catalog, so your users can request for travel on the go
Close the preview by clicking the cross icon on the top right
On the left sidebar, click Review and submit
Click the Submit button
We will test this form on the Employee Center Portal at the end of this session. Now it’s time for us to create an approval workflow for this travel request!
Previous exercise Next exercise